BigQuery Setup and link with Glific
3 minutes read
Intermediate
Many NGOs are concerned about the cost of setting up BigQuery. They are worried about running up a bill. In reality BigQuery provides a very generous free tier that you will find will suffice for several months. You need not worry till your storage exceeds 10GB and queries 1TB / month!
Google also sends notifications before billing you and provides you mechanisms like quotas to help control price. Learn more about these here :
Now that we have that out of the way, let's help you set up your account!
Creating your BigQuery Account
The following steps needs to follow for creating your BigQuery account.
1 . Go to Google Cloud Console and sign in with your GSuite account.

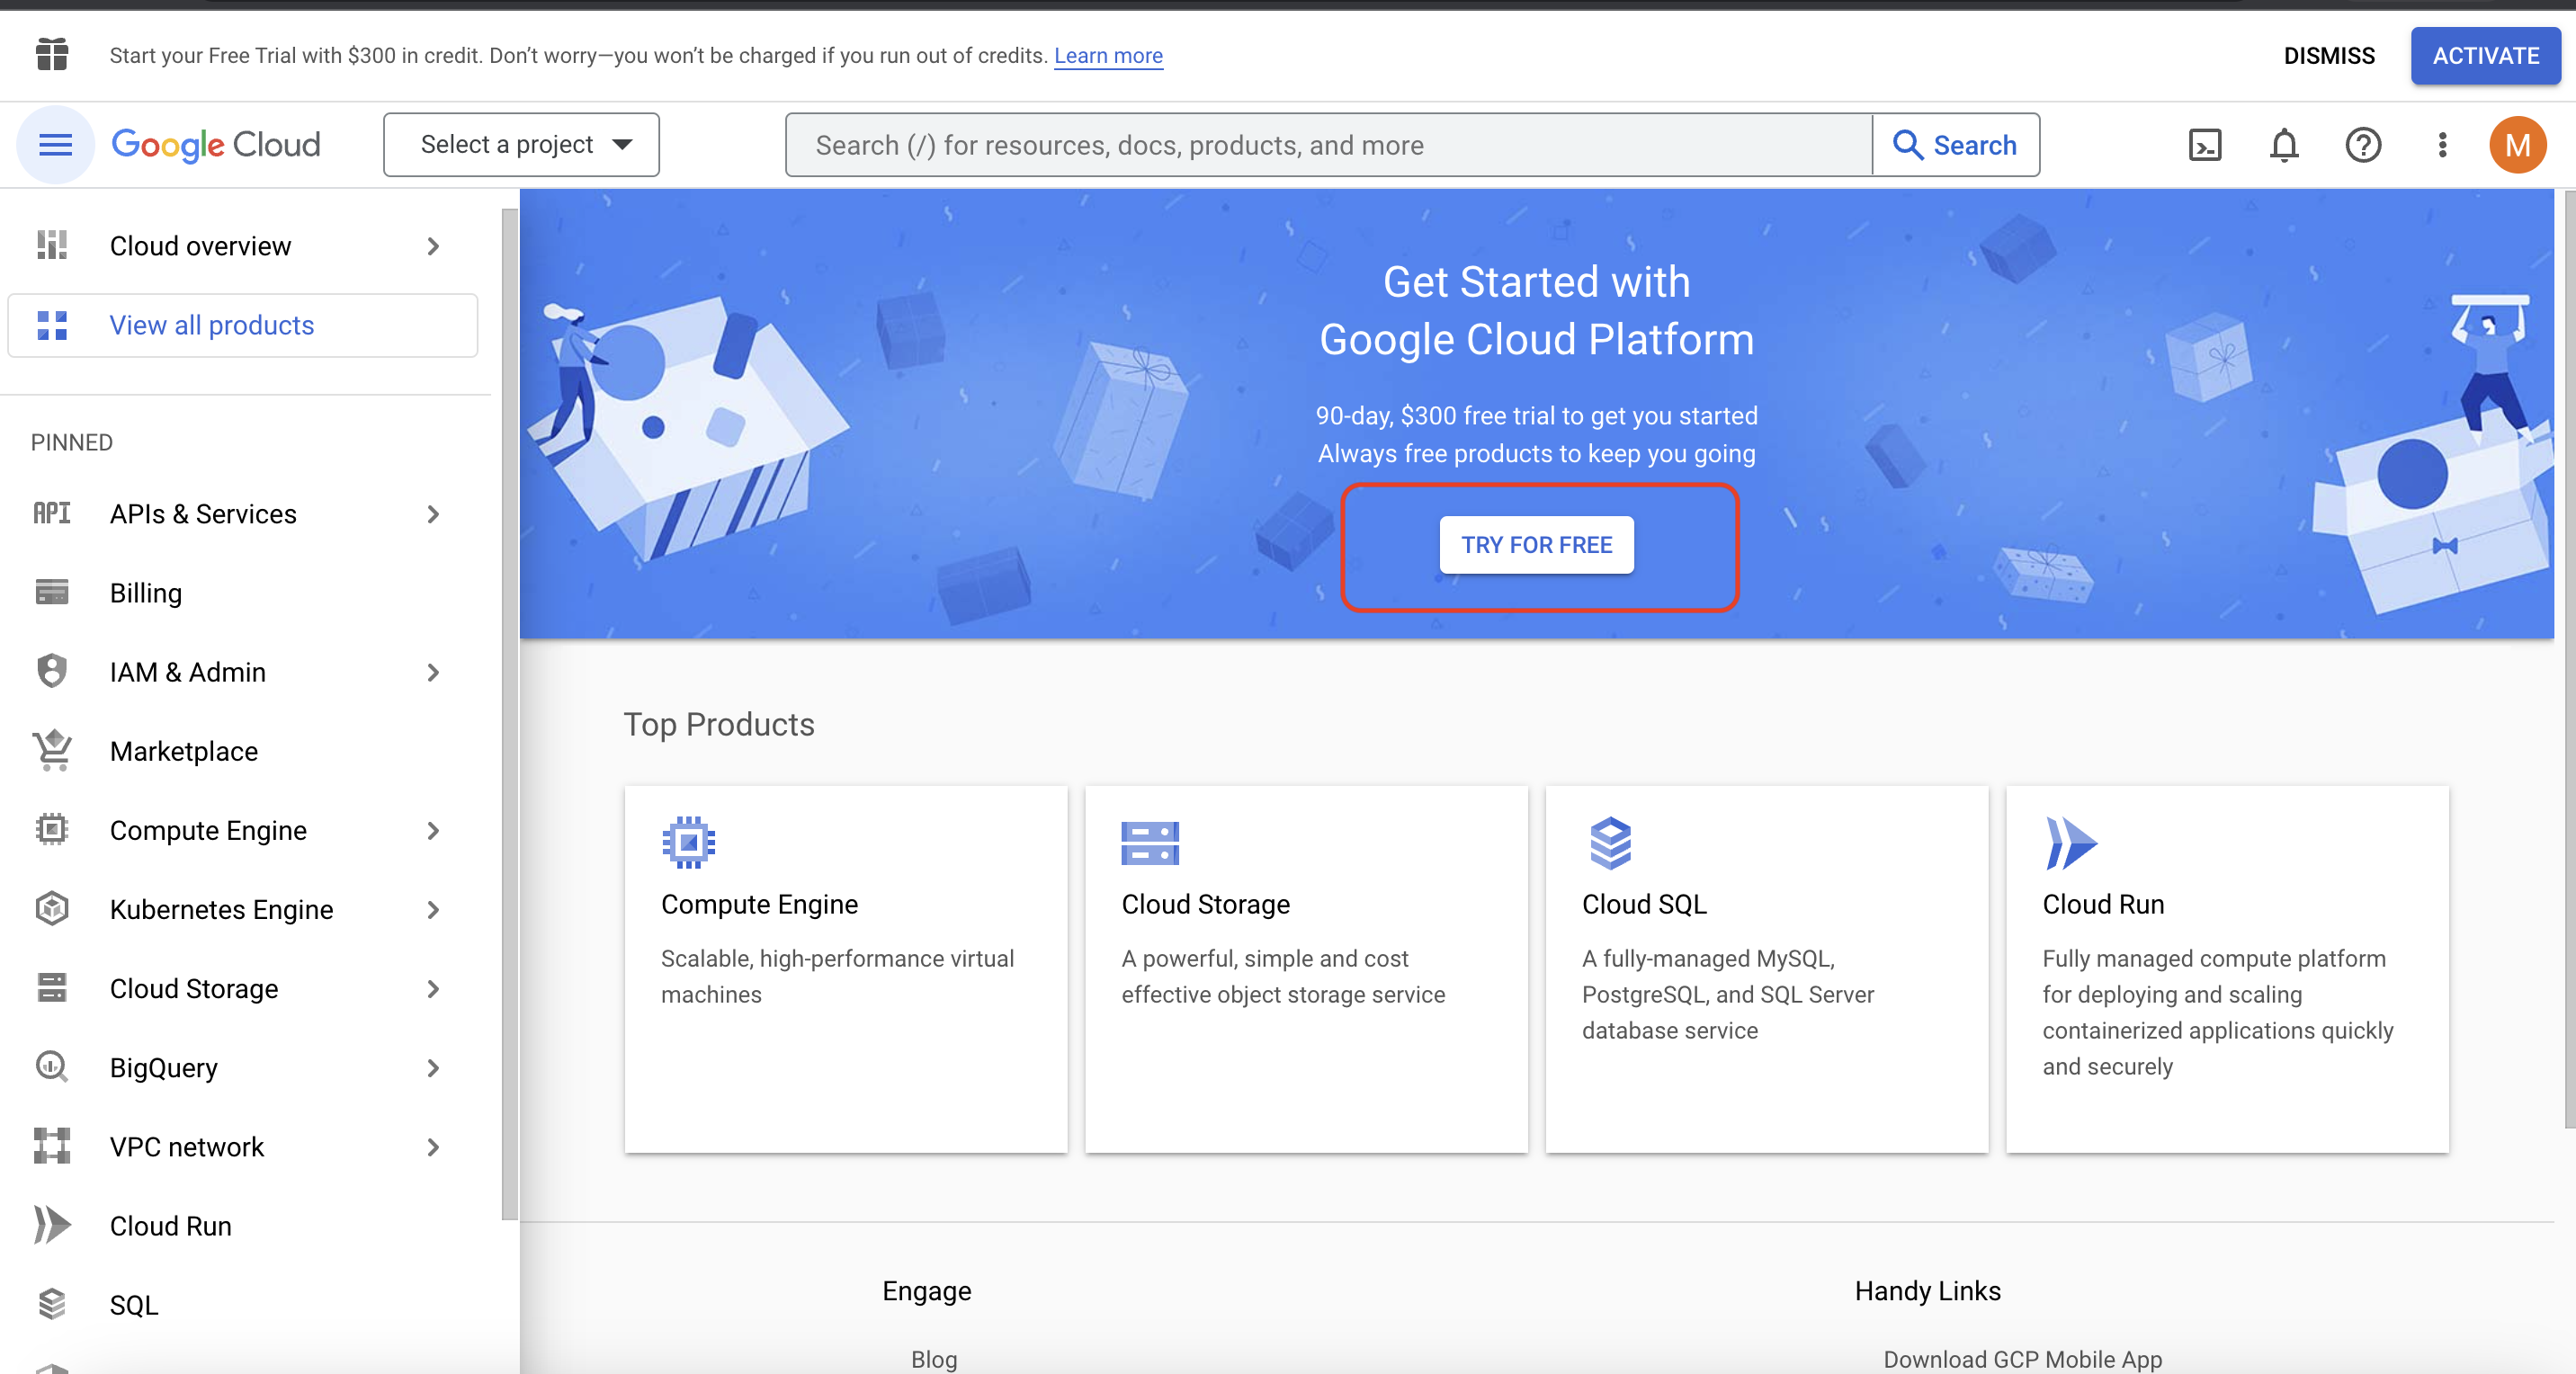
2 . After signing in you will be redirected to Google Cloud console. Use the given link if not redirected: https://console.cloud.google.com/getting-started
3 . Click on TRY FOR FREE and fill in Billing Details.
4 . Select Country and check to agree to Terms and Conditions.
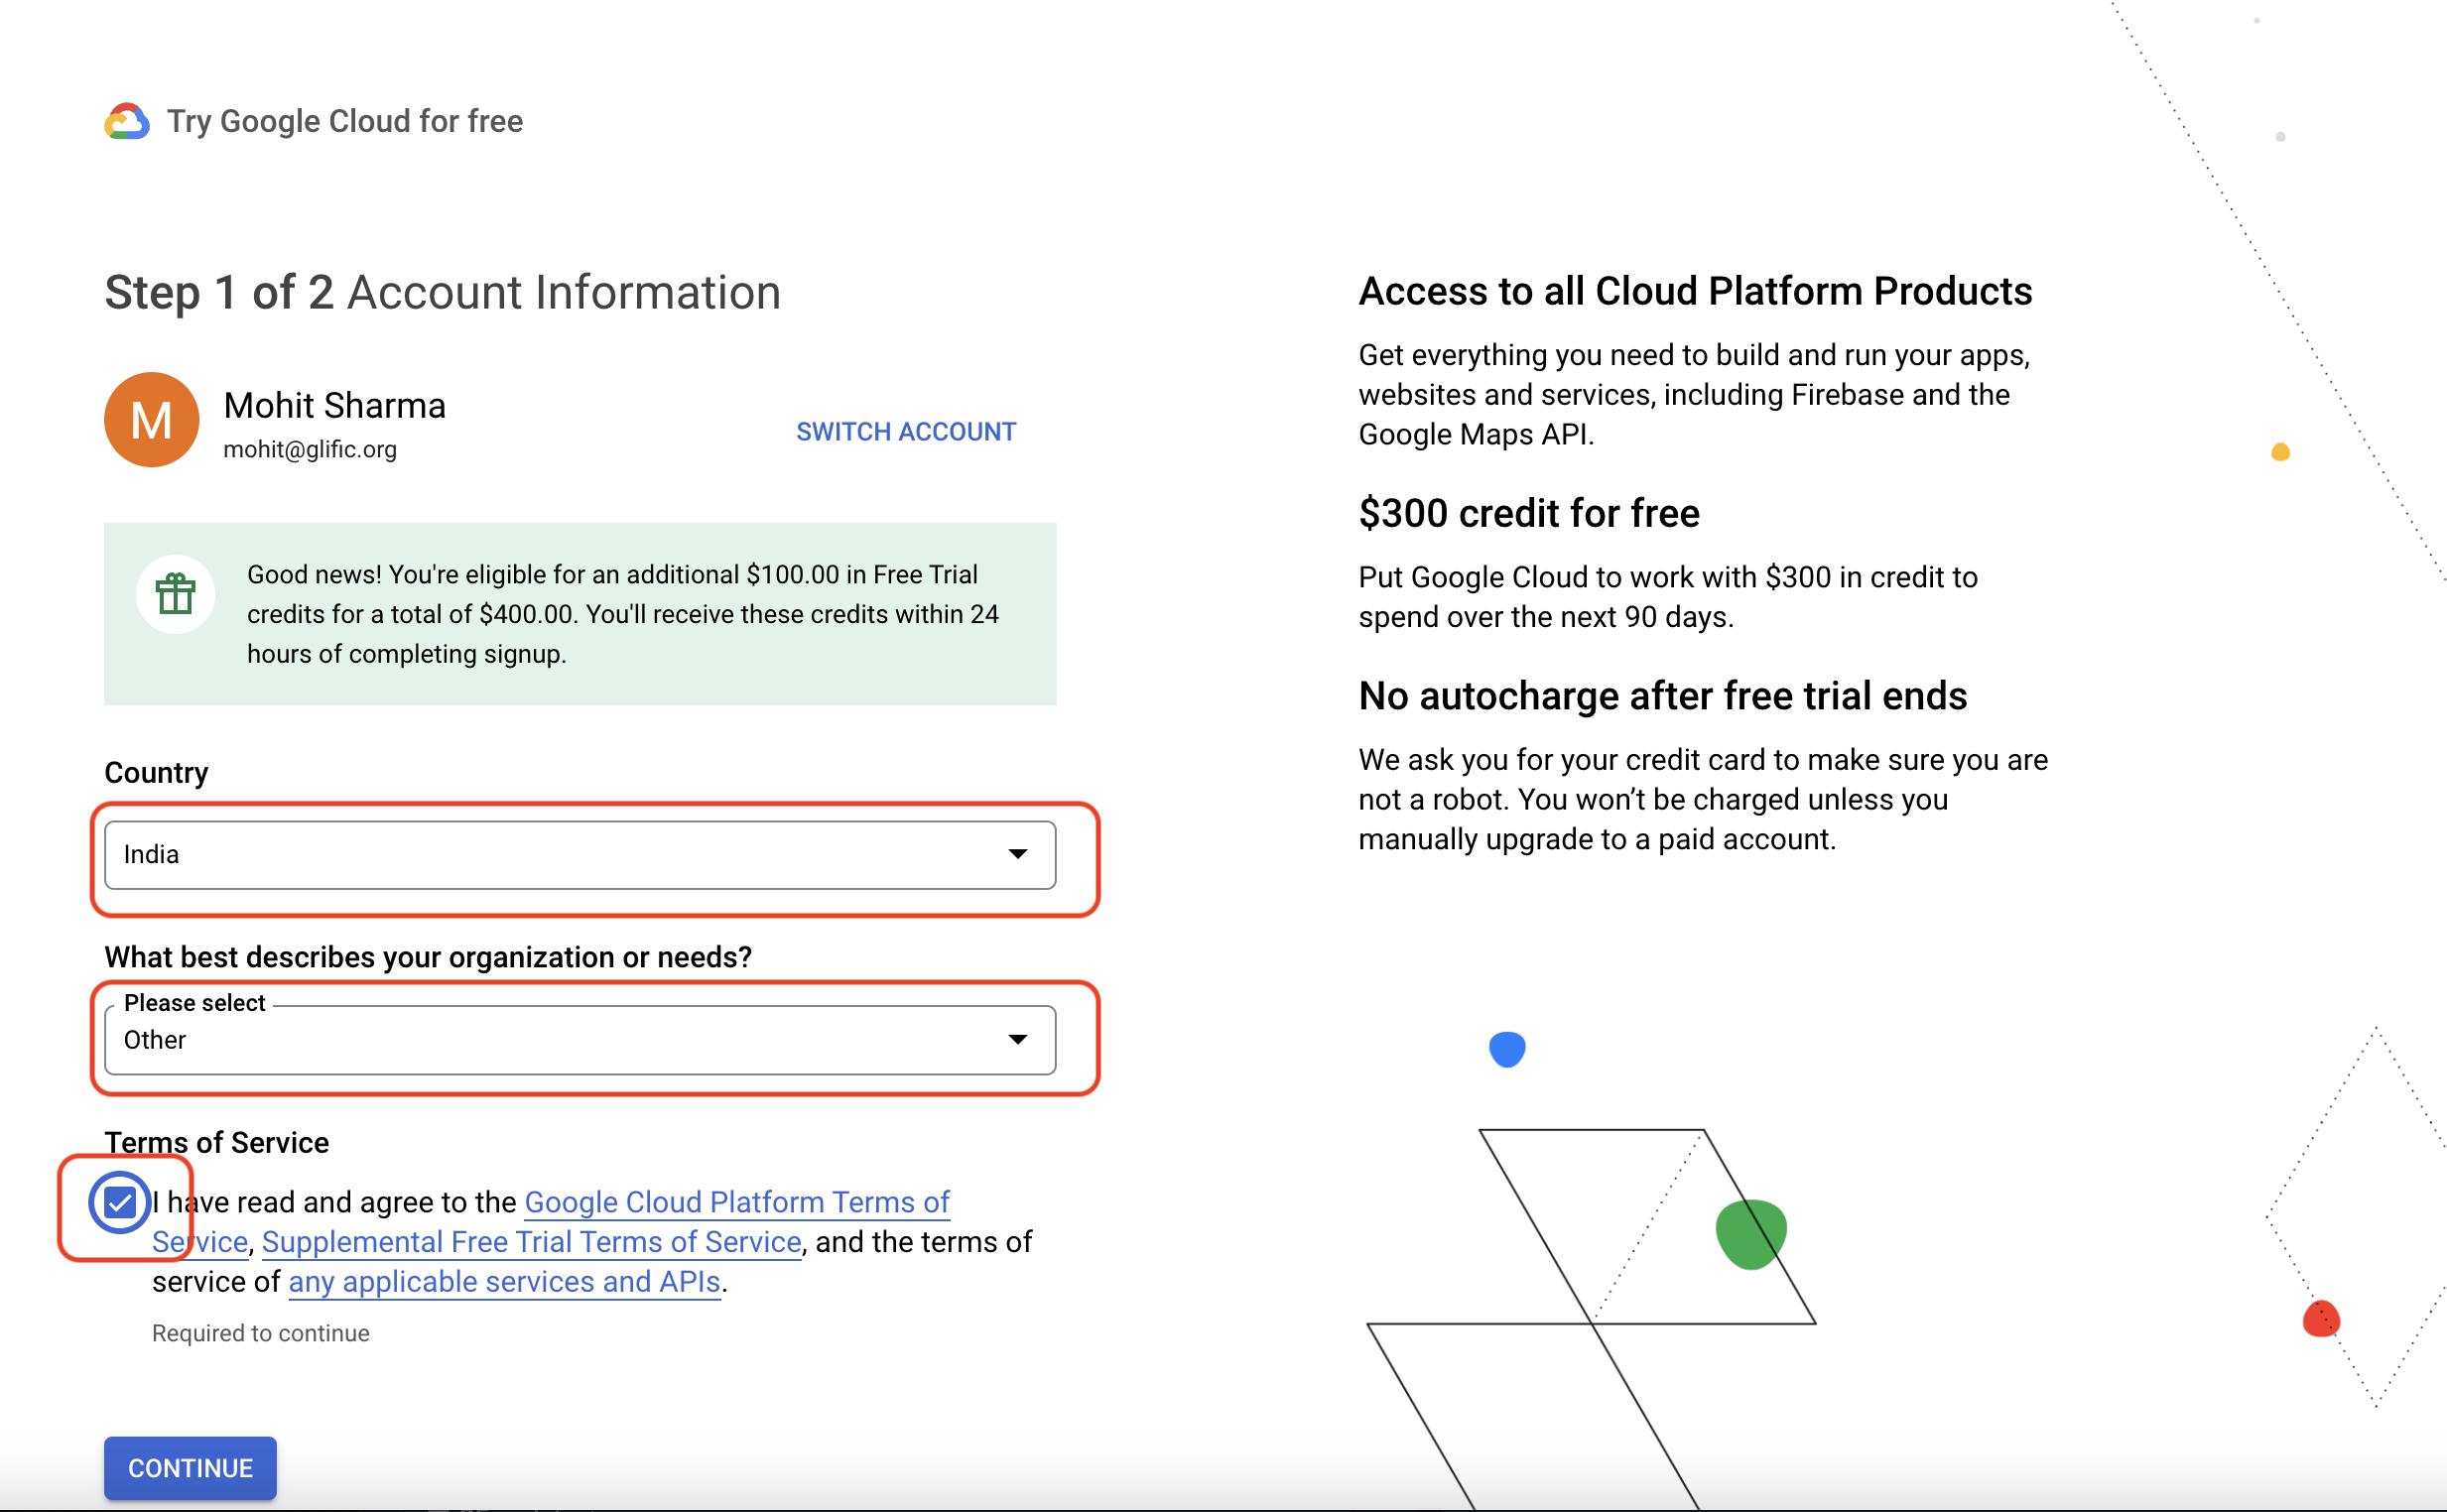
5 . Fill in the rest of the details to verify.
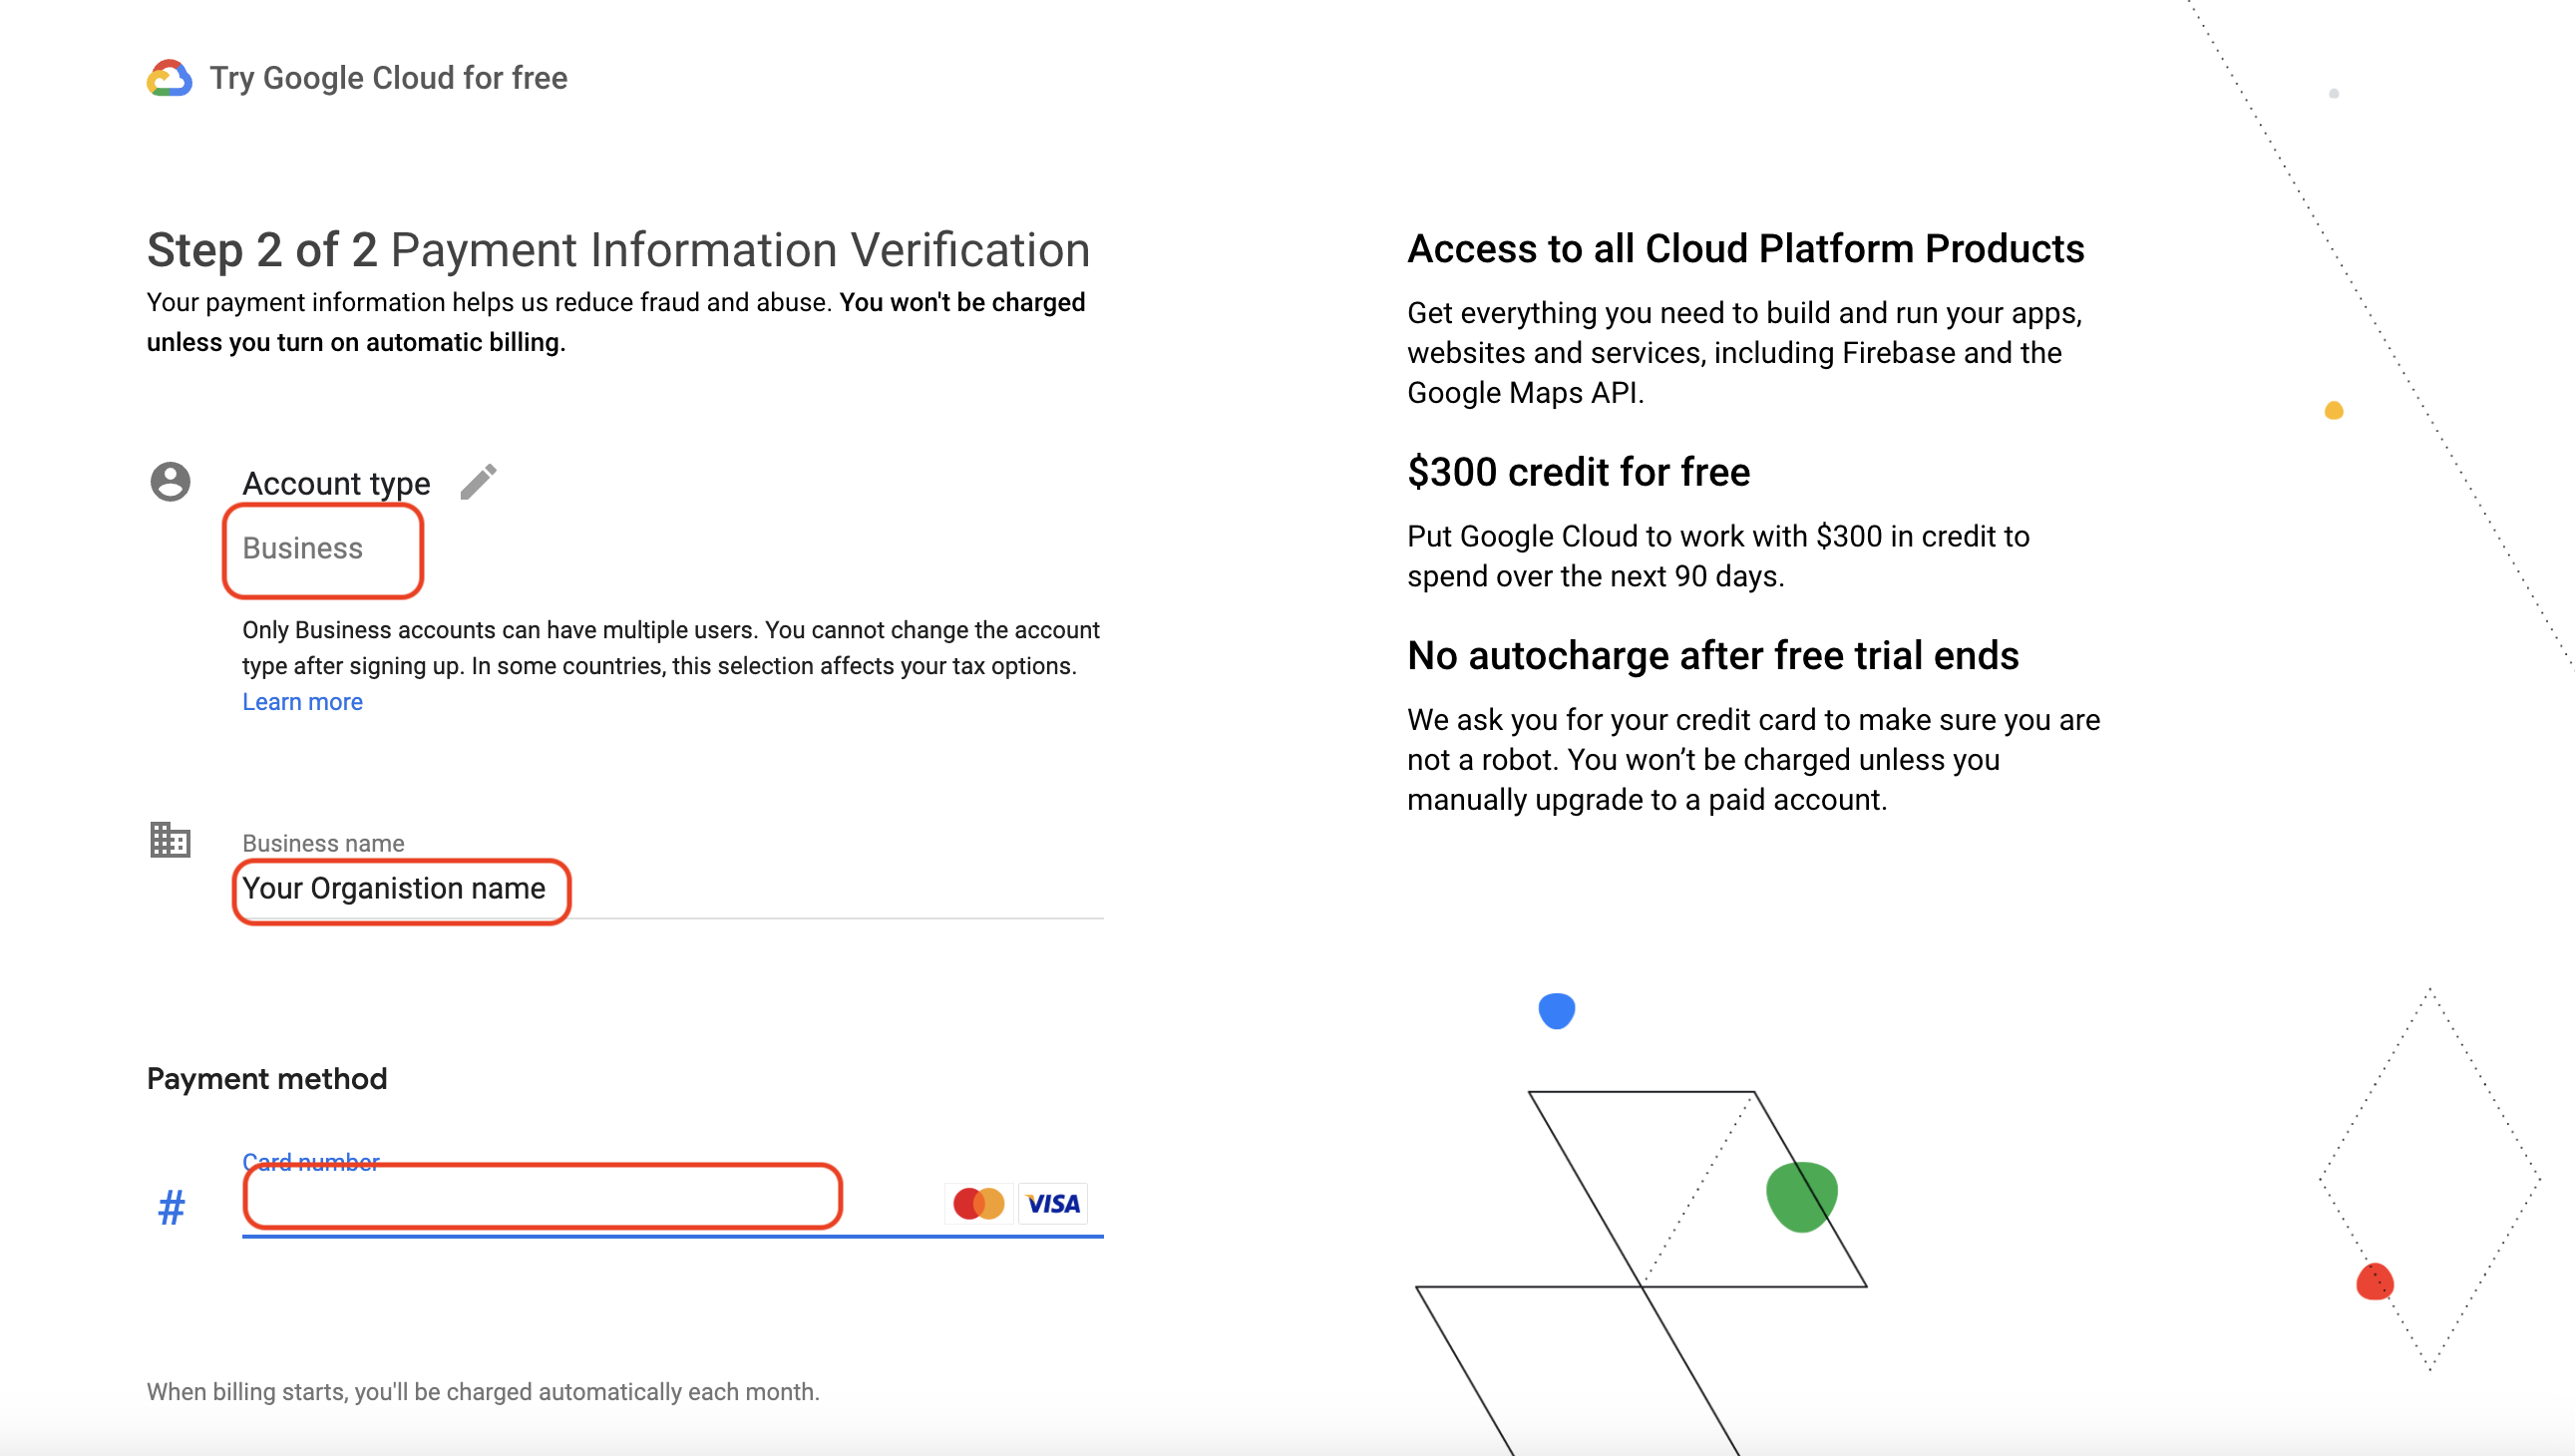
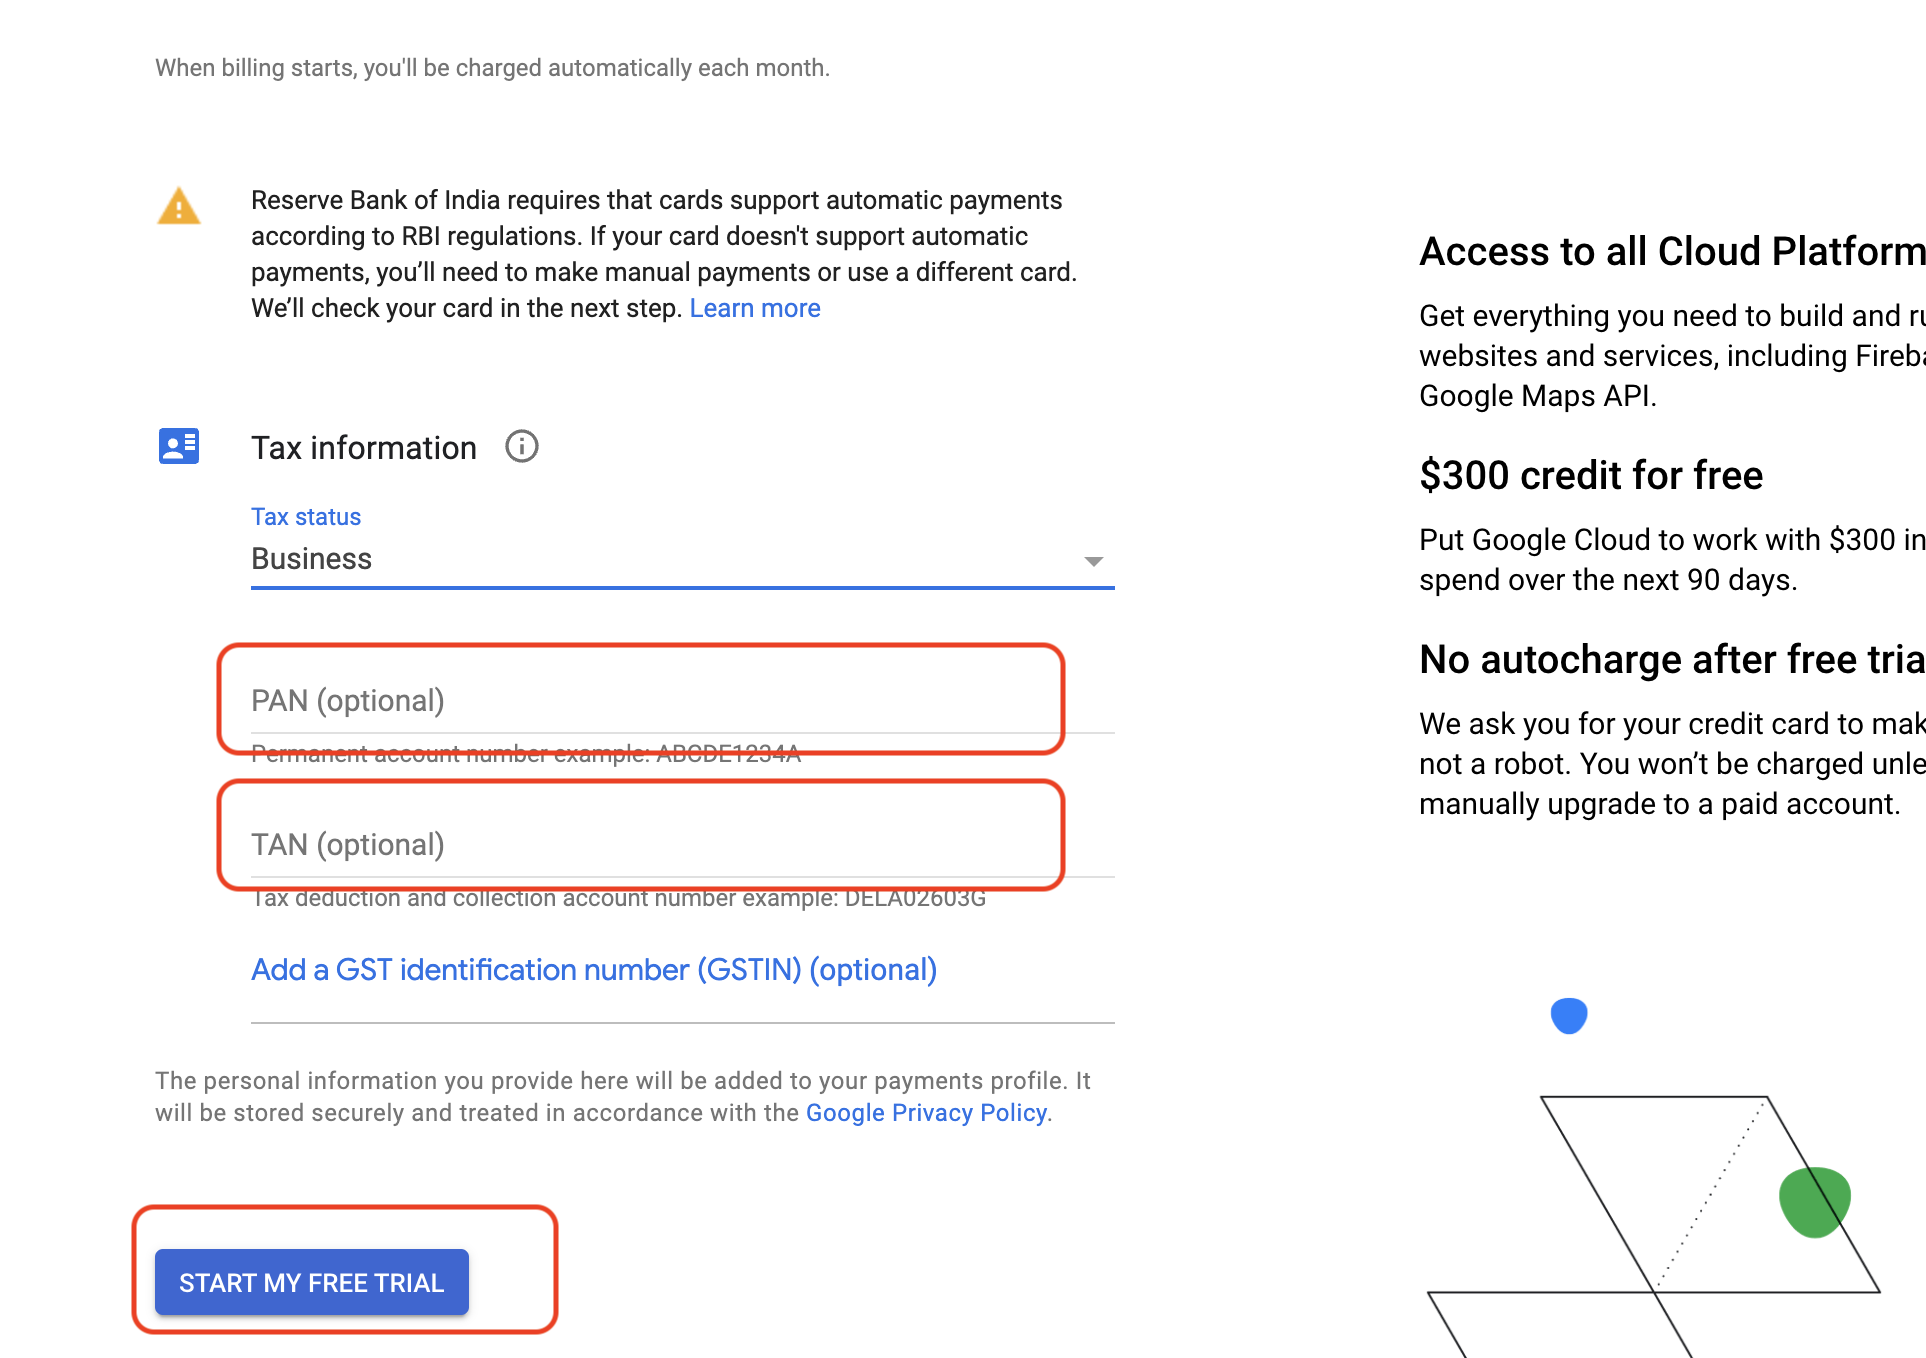
6 . On the same page, fill in Primary contact details and payment method details and click on the Start my free trial
7 . If it does not redirect, you can go to the Google Cloud Console Dashboard directly
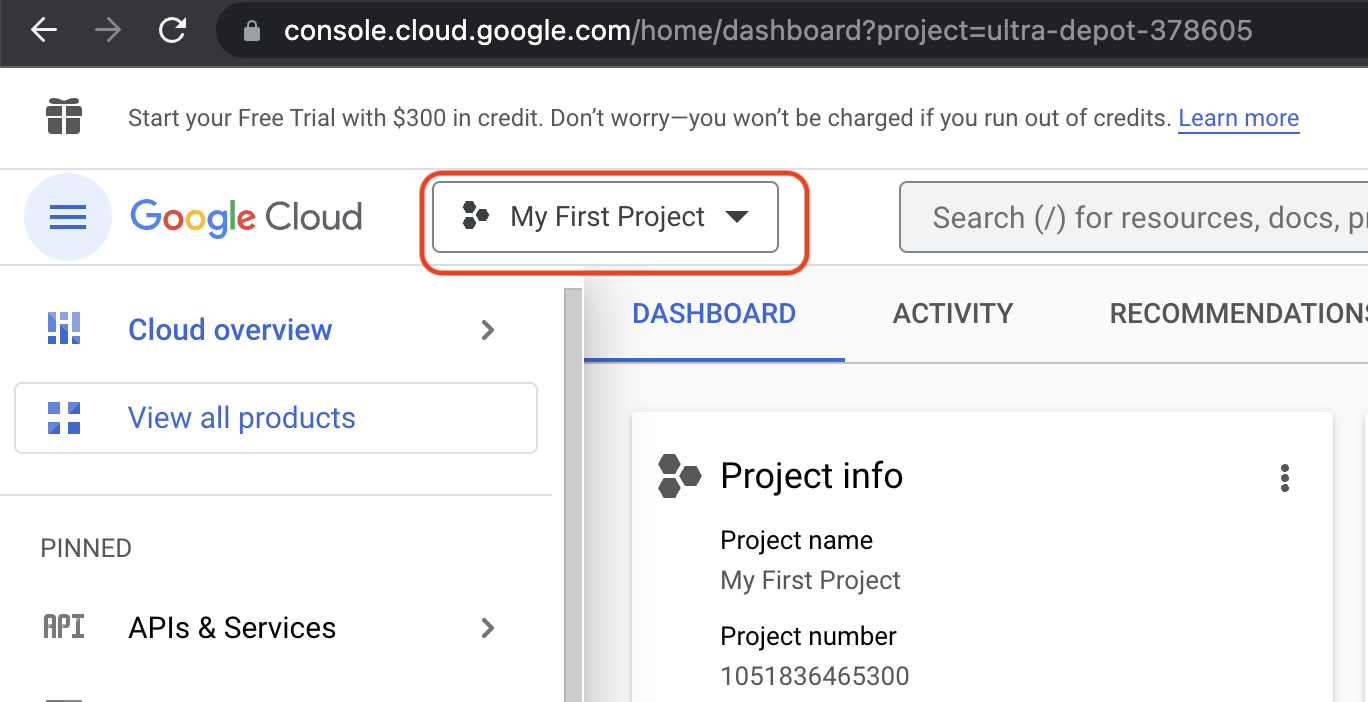
8 . Click My First Project in the dropdown in the Top Bar to create a new project.
9 . Click on New Project at top right corner.

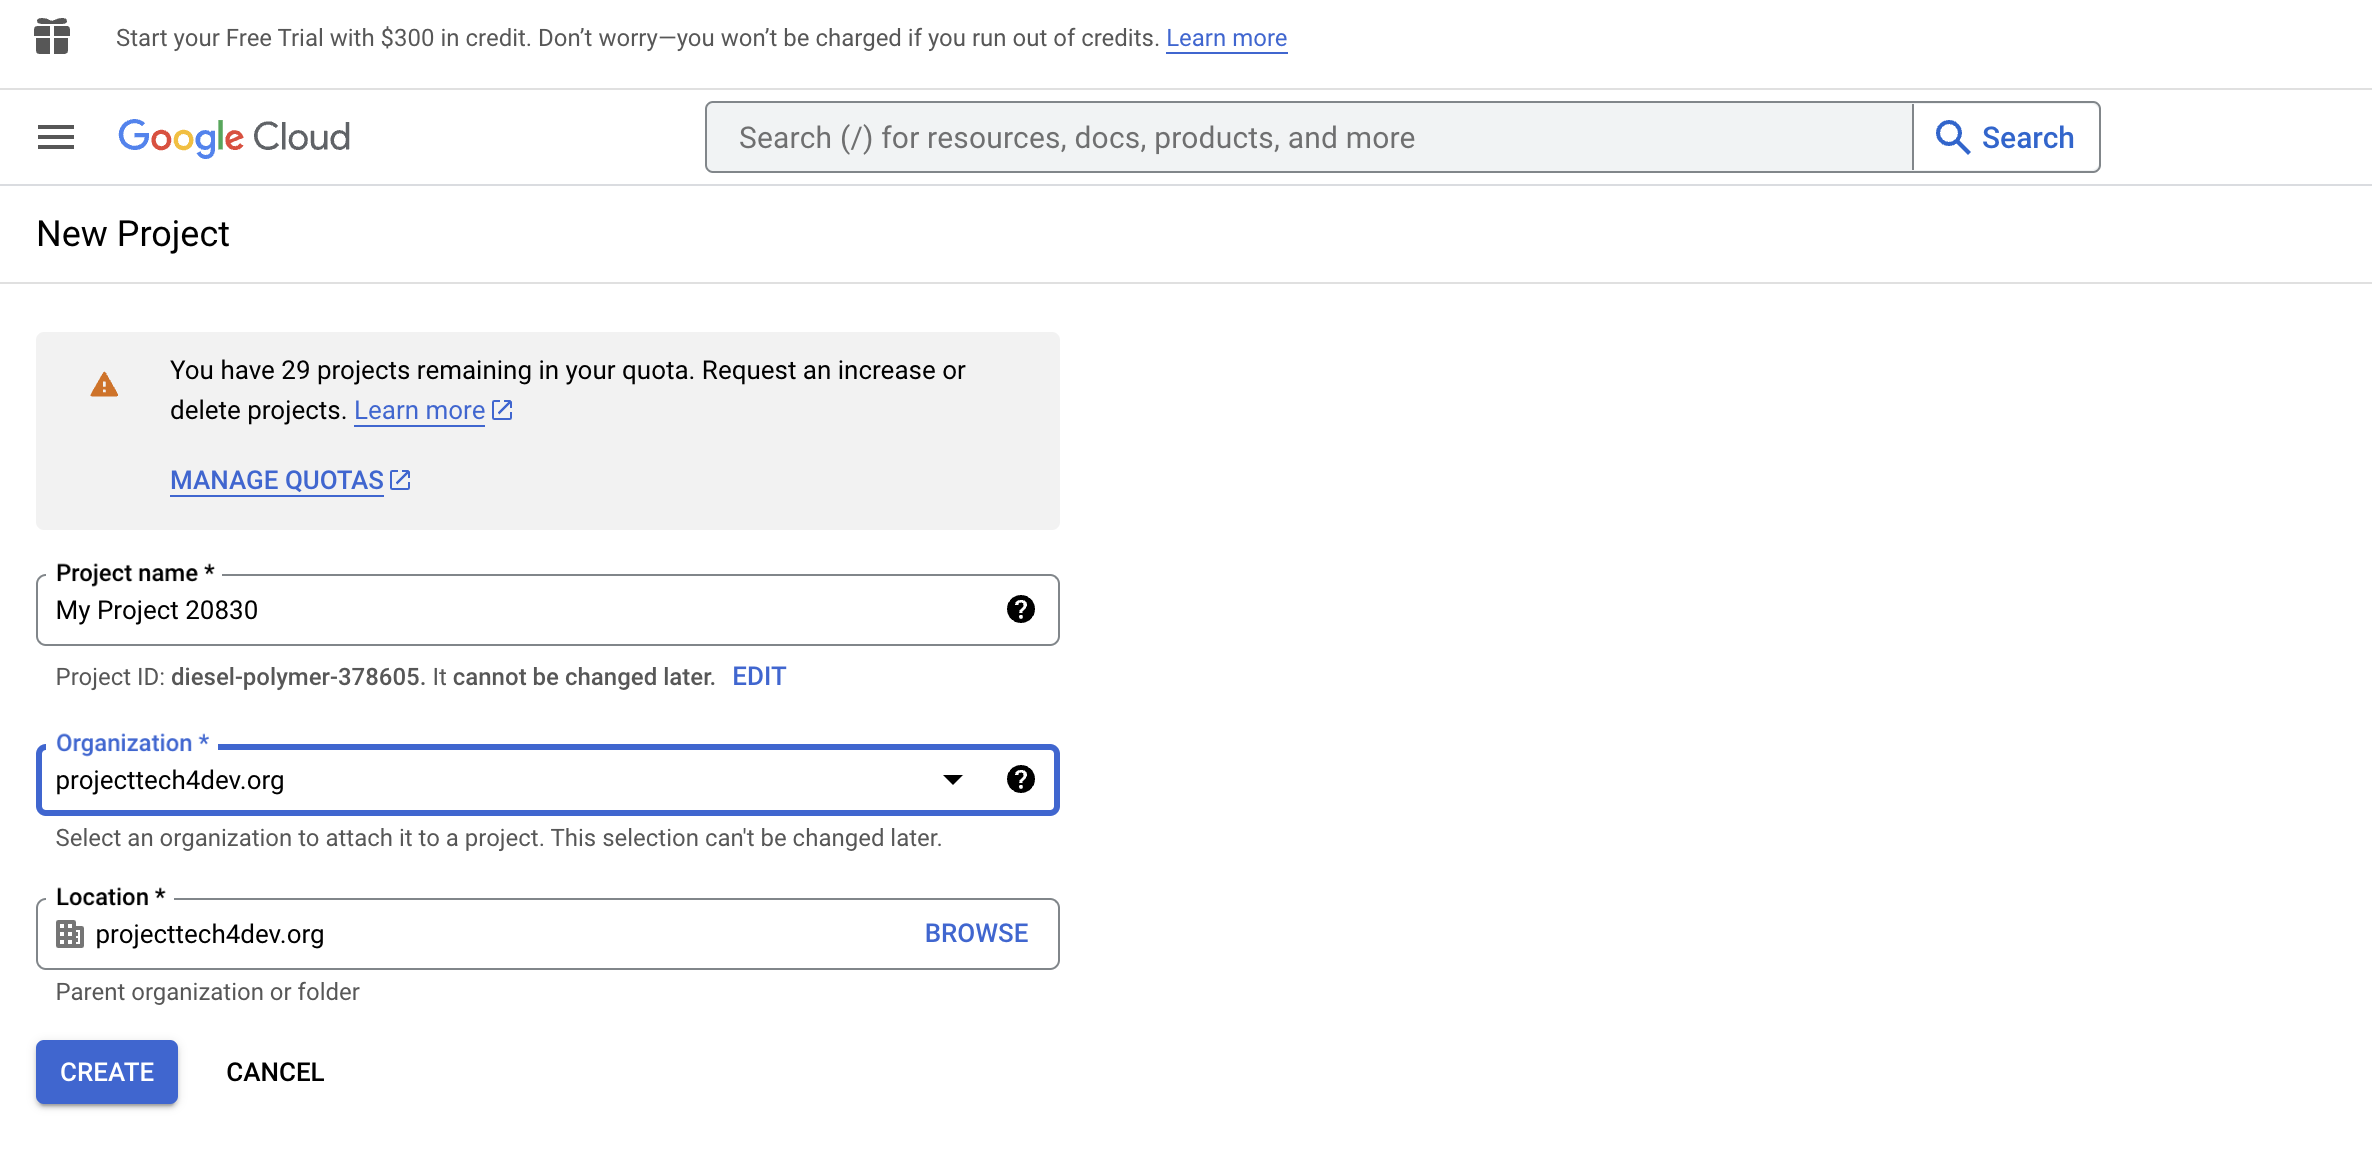
10 . Fill in your project details and click on the CREATE button.
11 . Select BigQuery from the side panel of Google Cloud Console Dashboard or use link to reach Bigquery Dashboard,
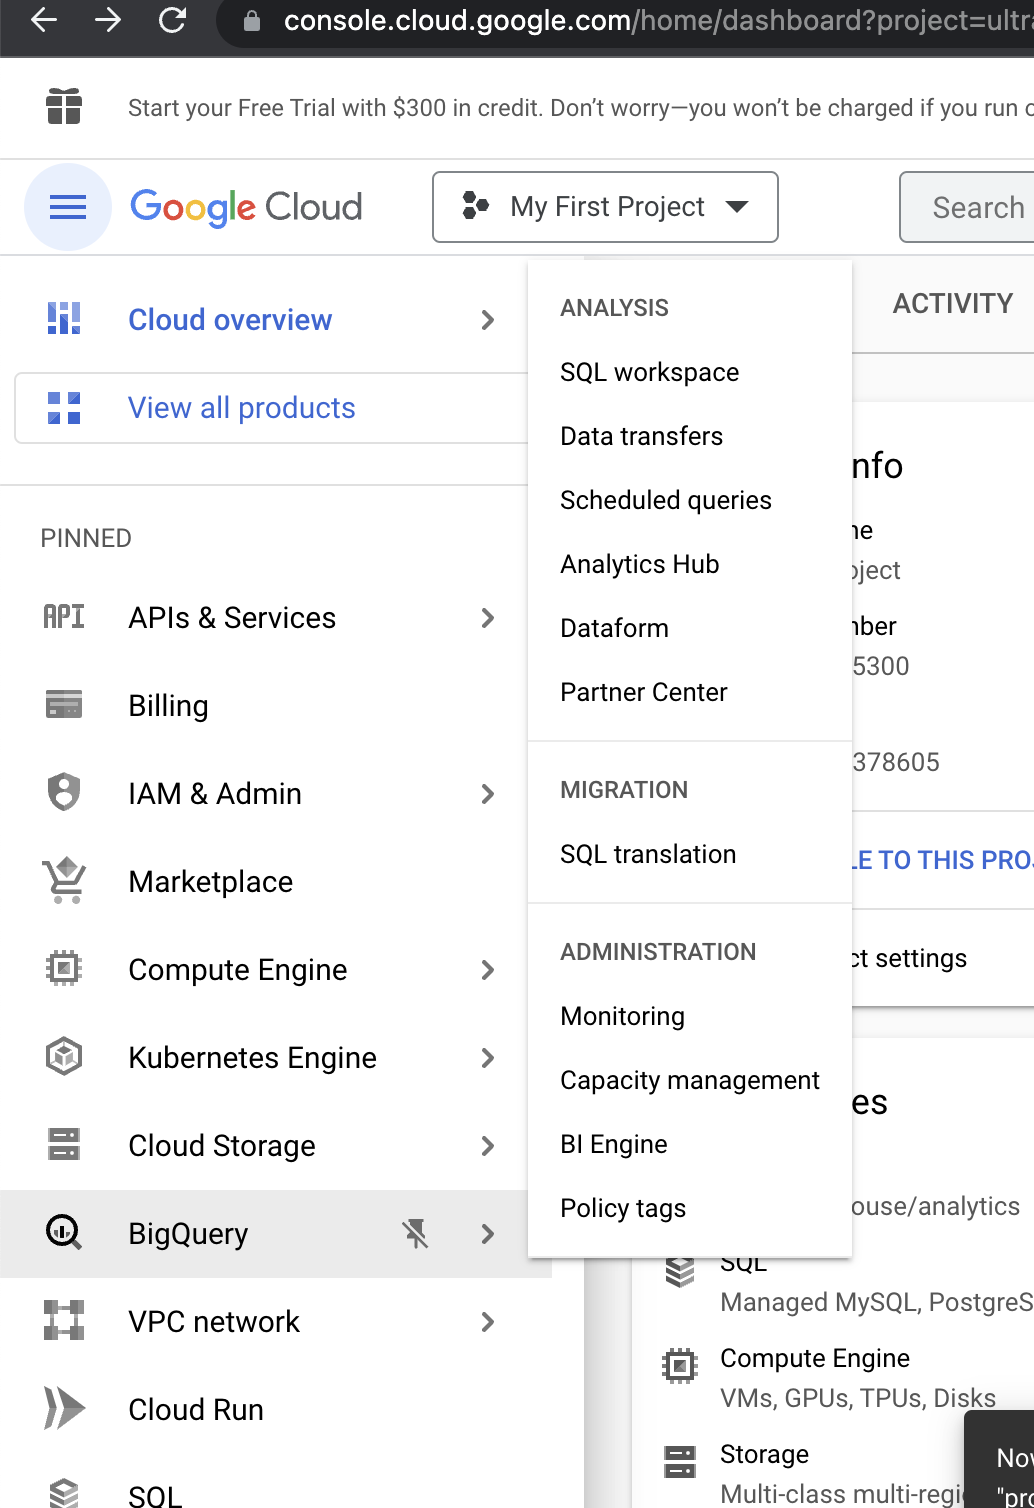
- Select the project.

13 . Now Go to https://console.cloud.google.com/apis/credentials/serviceaccountkey to generate project API keys
14 . From the drop select your project. Next, select a new service account and choose Role as Project -> Owner. And Click on the Create Serive Account button below.
- Enter serivce account details and click on 'Done'

Add Grant this service account access to project is not optional. Along with it, owner access to the email should be added as well while creating a service account.
- Create serive Key. CLick on Manage Keys from 3 dot dropdown.

- Click on 'Add Key'
- Save the JSON file downloaded and copy its content.

20 . To integrate BigQuery in Glific. Click on the NGO main account button(bottom left corner) and find Settings and select BigQuery from the list.
22 . Paste the copied JSON content inside Goth Credentials input
23 . Click on is active checkmark and click on the SAVE button. Then send a message to the bot. BigQuery sync starts when a message is sent from or to the bot after adding credentials.
24 . Go to BigQuery console or use link https://console.cloud.google.com/bigquery
25 . You can see a new Dataset with two tables is automatically created. Contacts and messages will be populating automatically.

You can refer to this small video to know how to setup BigQuery for your organisation
Big Query Schema - https://github.com/glific/glific/blob/master/lib/glific/third_party/bigquery/bigquery_schema.ex
Export Data in Excel format from Google BigQuery
There are generally 3 ways to export data from Google BigQuery
- Export data in the data studio and then export the results. Help Article https://support.google.com/datastudio/answer/7398375?hl=en
2. How to send data from Google BigQuery to Google Sheets and Excel
- Exporting Data tables https://cloud.google.com/bigquery/docs/exporting-data#console
Troubleshoot Checklist for BigQuery Data Update failure
- Check notification - Check system logs to see if there is any error.
- Click on Notification tab from left pane.
- Check if there is any errors or warning related to your google account.
Sample error message.

2 . Check the BQ account is active.
3 . Check if there is any billing issue at the GCS end.
a. Go to https://console.cloud.google.com/
b. Click on billings from left pane.
c. Check to see if you have any billing related notification from Google.

4 . If not able to save credentials and it is showing Account does not have sufficient permissions to insert data to BigQuery as shown in the image
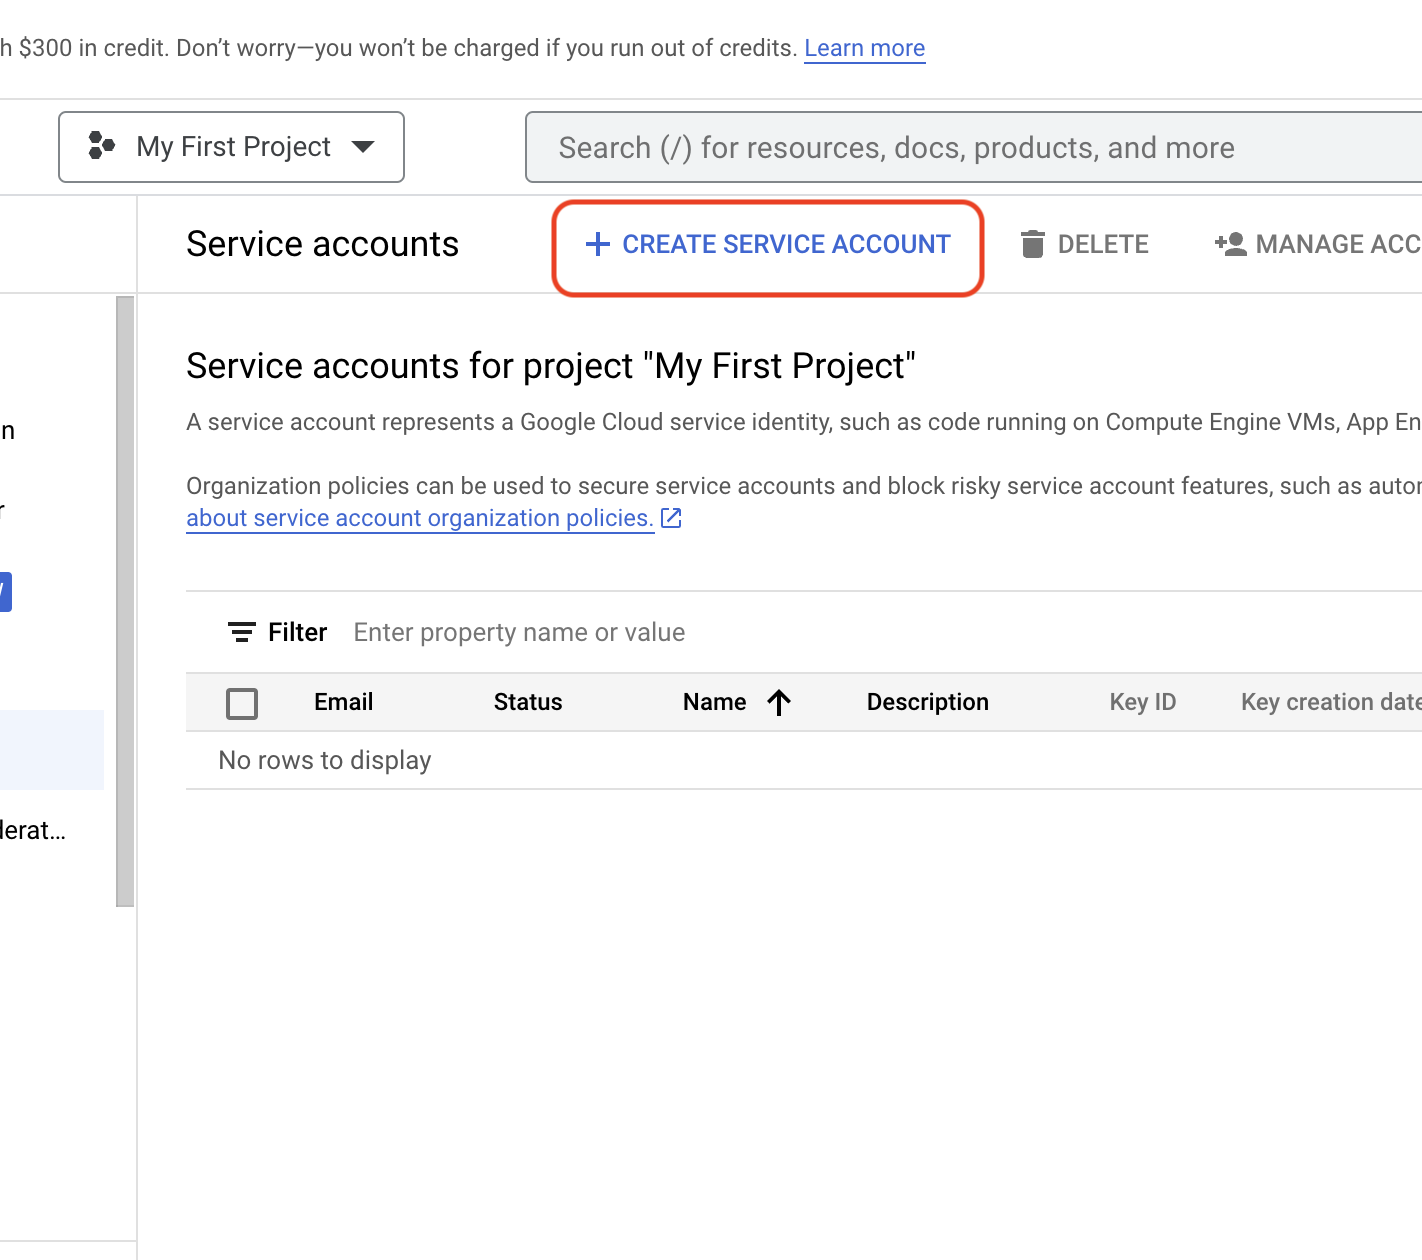
a. Click on three bars on the left hand side and go to IAM & Admin and choose Service Accounts.

b. Click on CREATE SERVICE ACCOUNT button.

c. Enter Service account name e.g. Glific and click on CREATE AND CONTINUE.

d. Click on Select a role, type owner, choose OWNER from the list and click on DONE.

e. Again click on DONE. This will create a new service account.

f. Choose the service account created from list of service accounts.

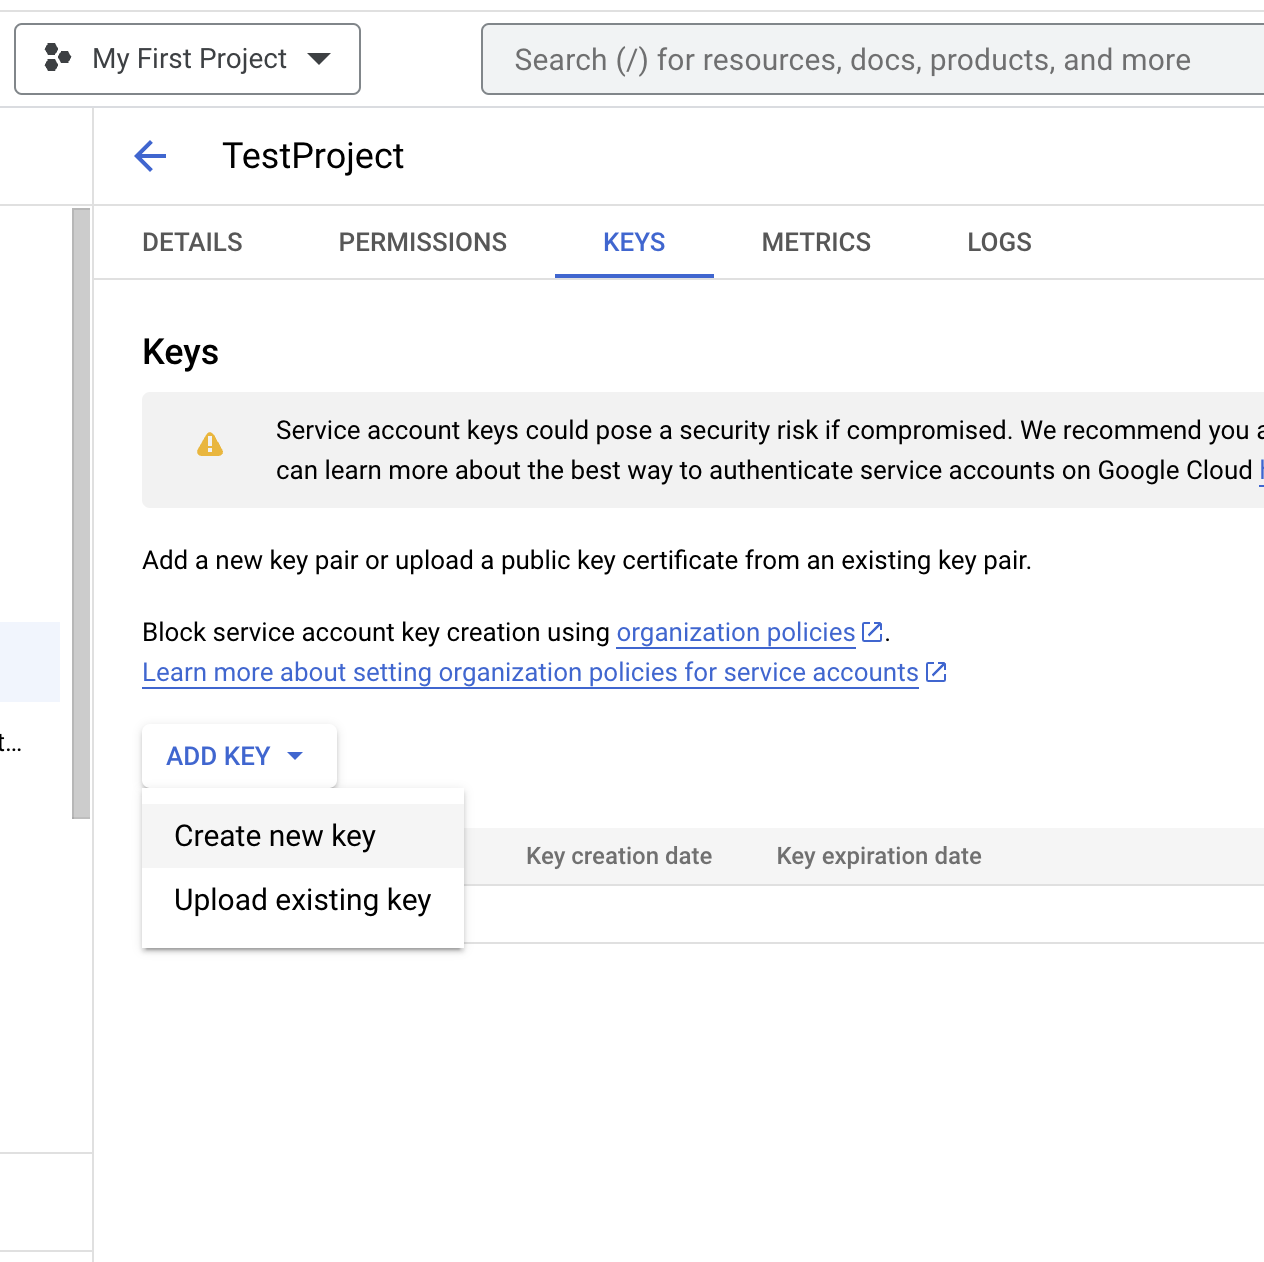
g. Click on KEYS, ADD KEYS and then Create new key.

h. Choose JSON as key type and click on CREATE.

i. Use the downloaded key and add that as credentials in Bigquery.